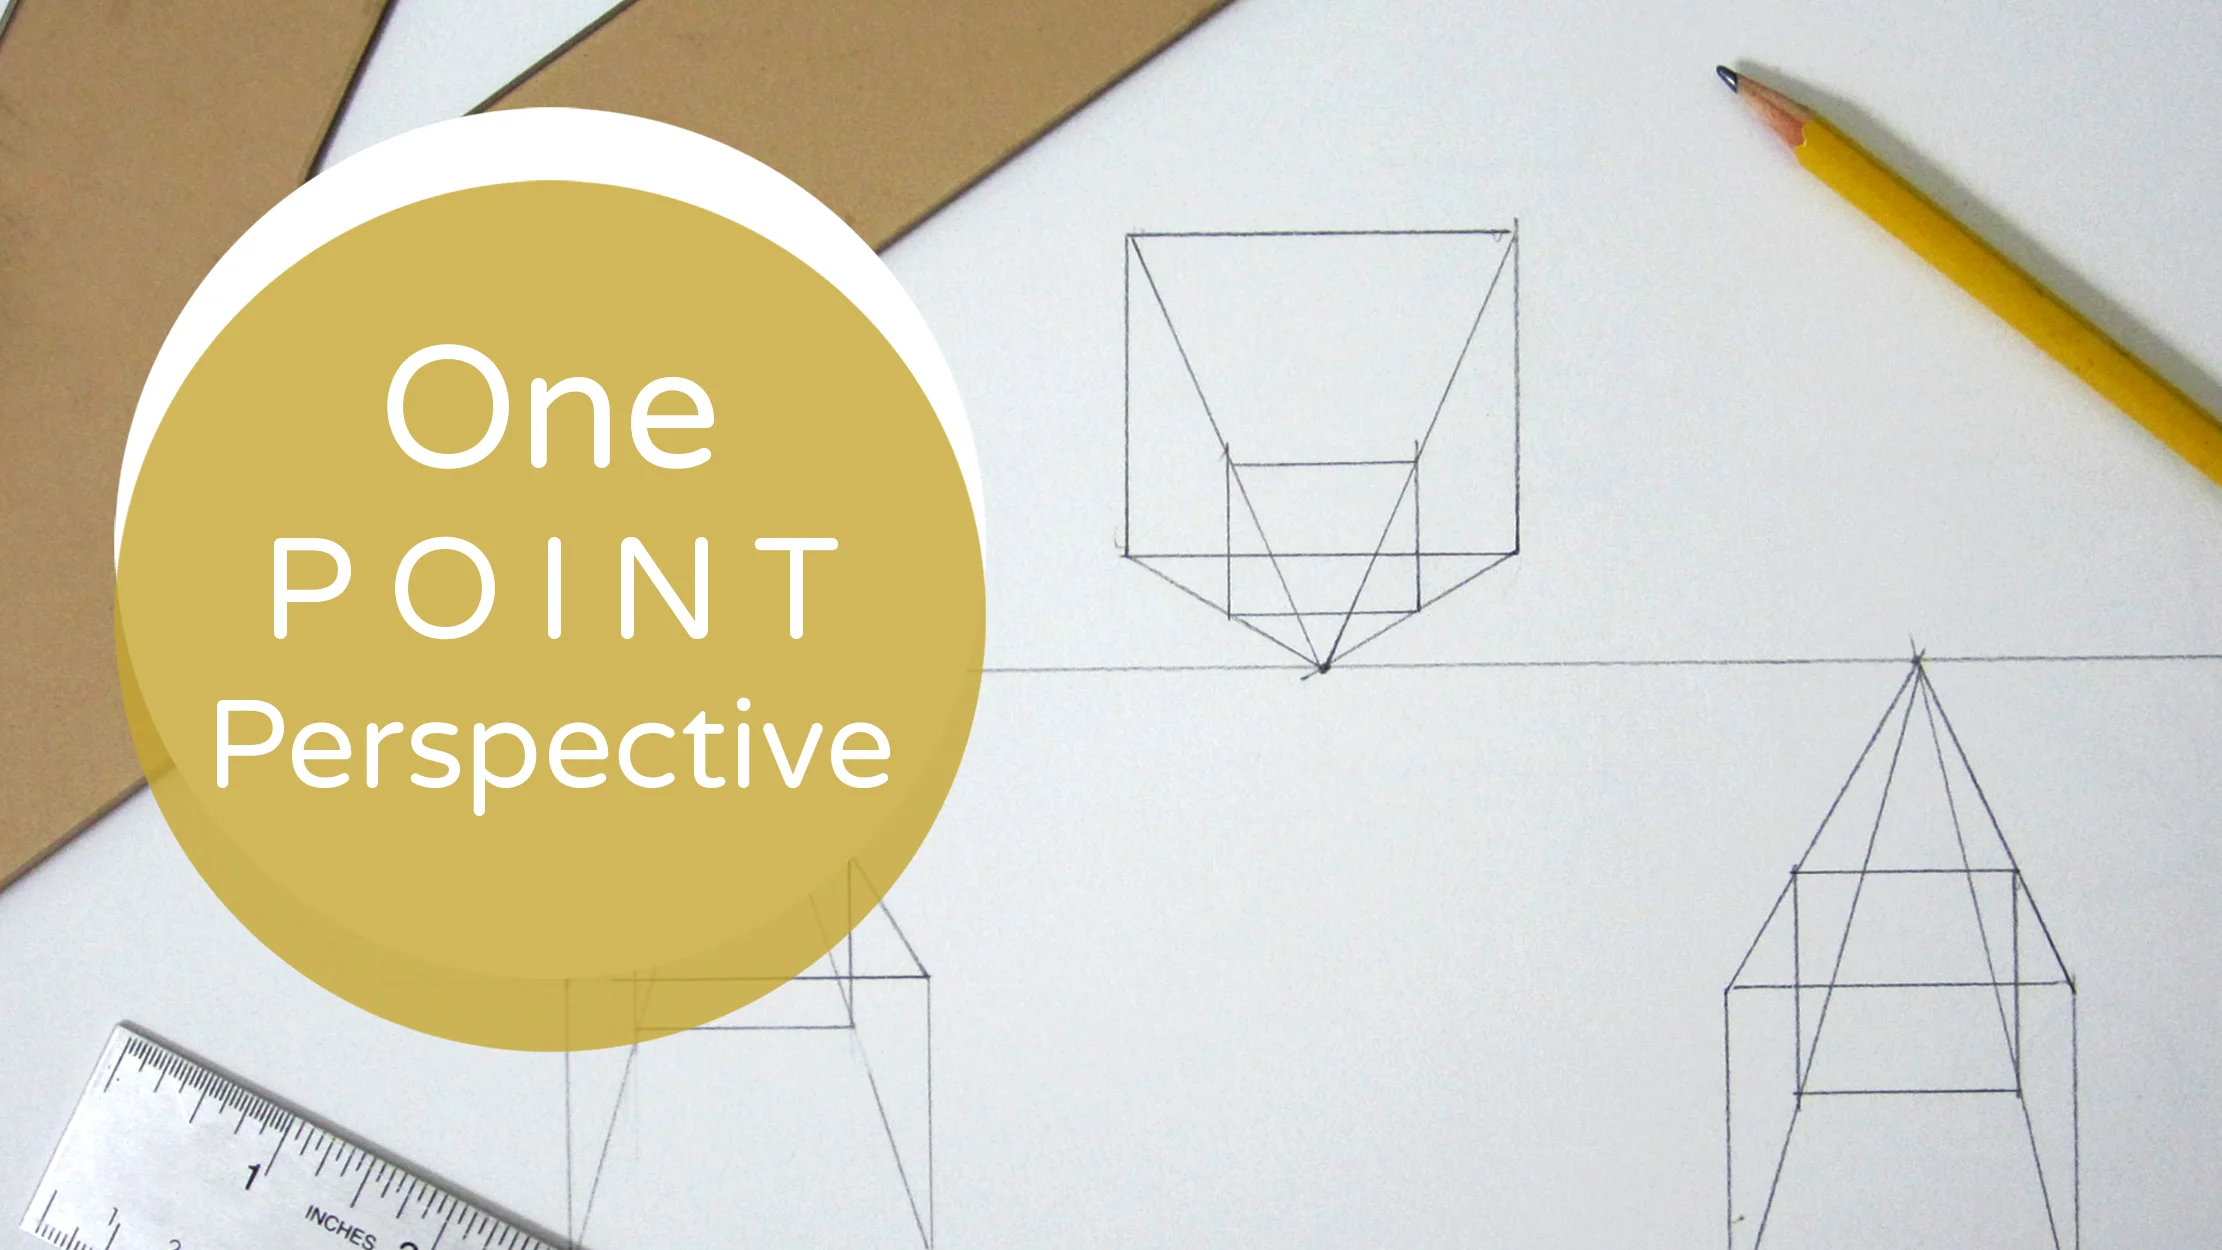
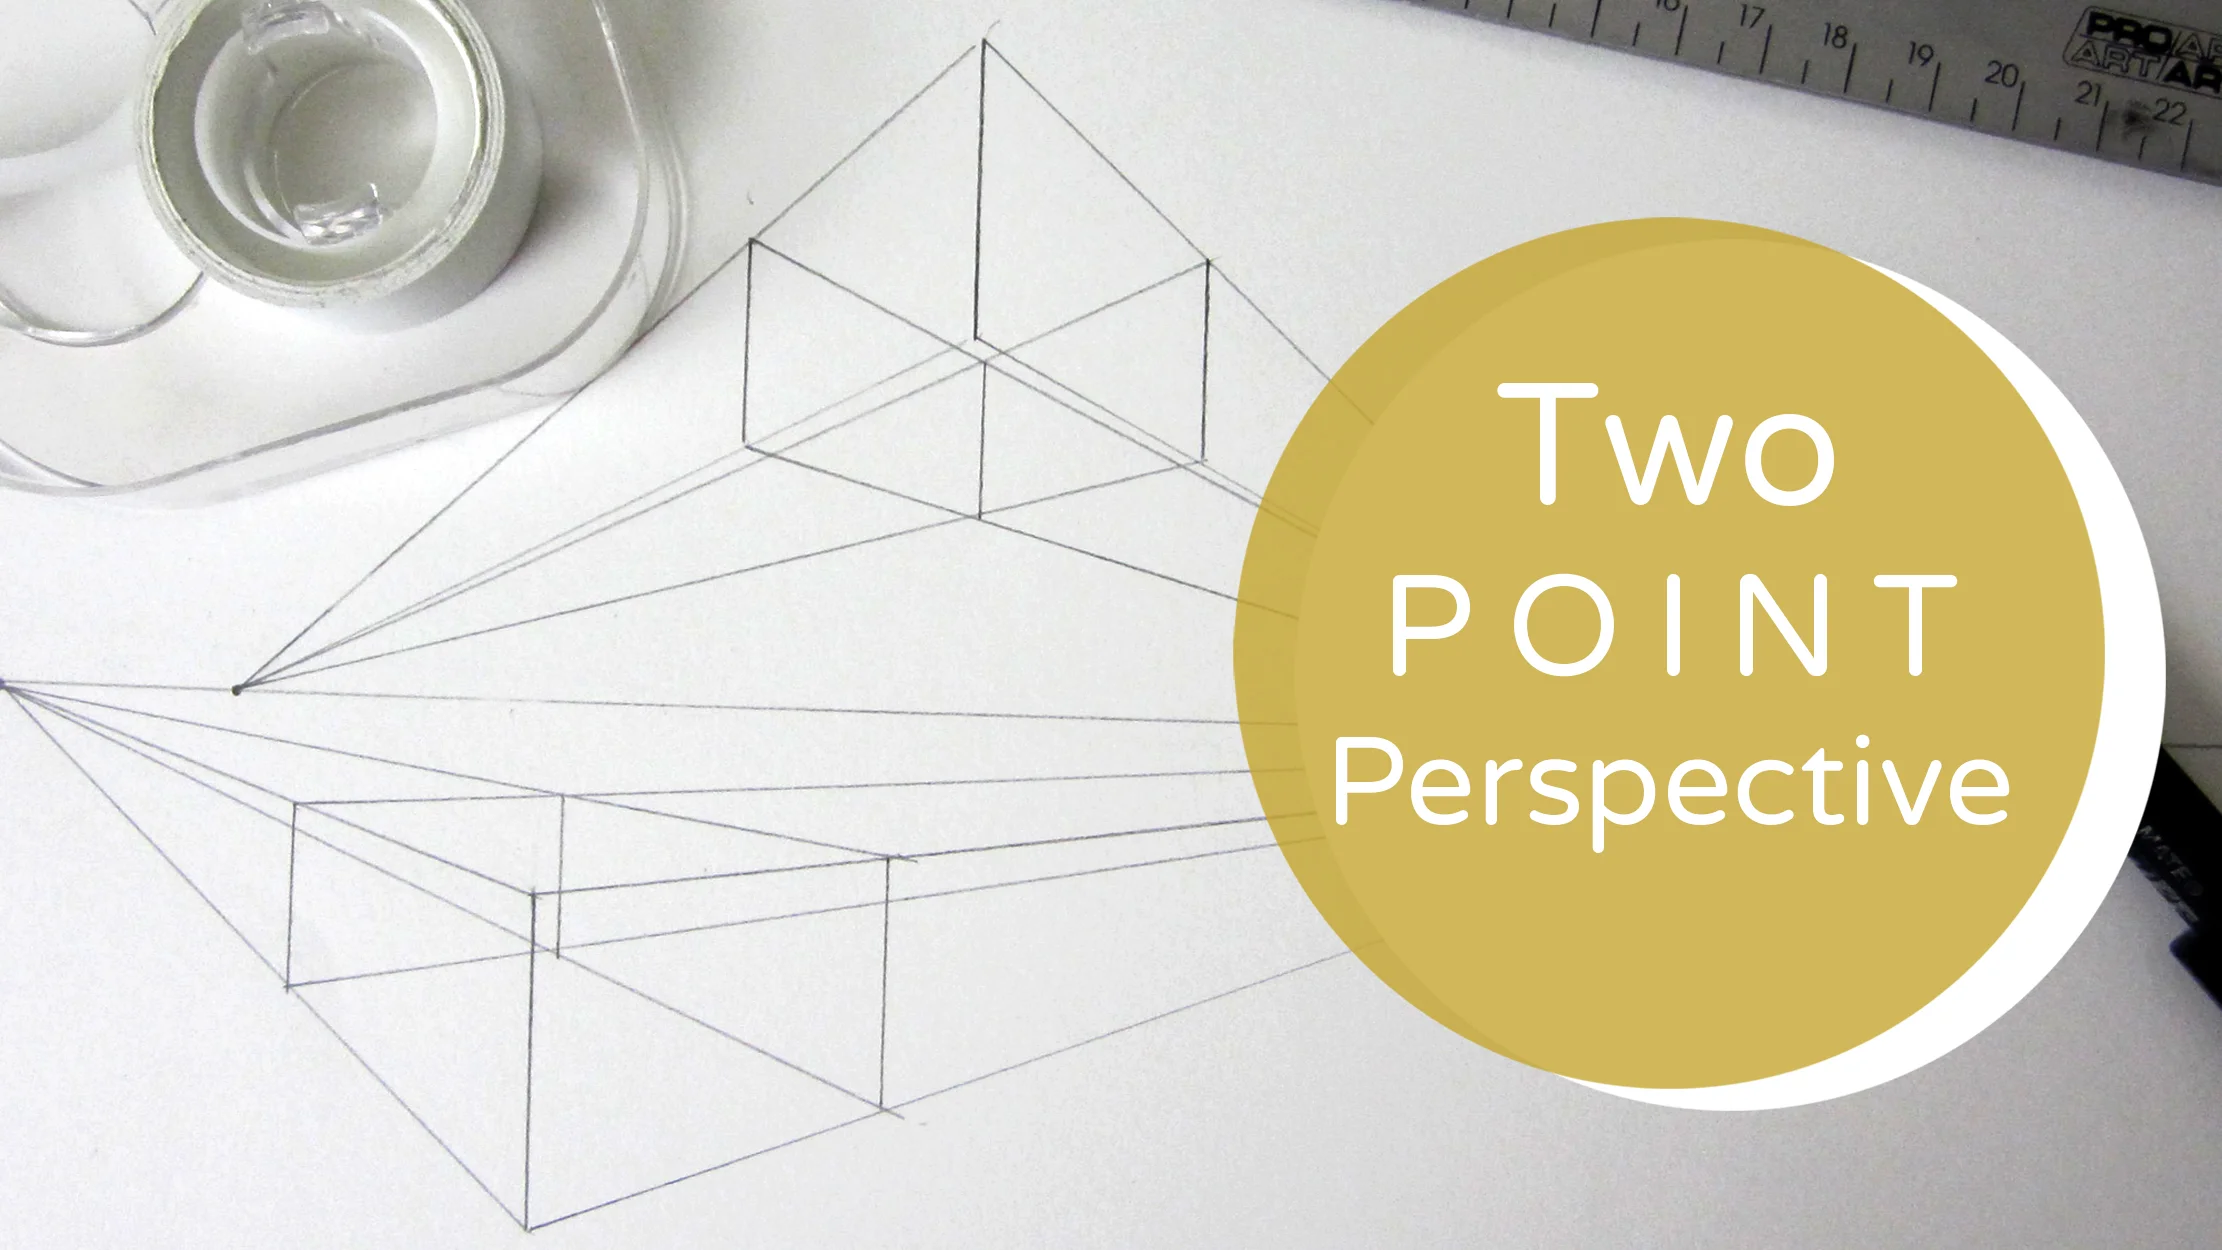
2 Point Perspective | Building Objects Out of Boxes
Reference: The Art of Perspective by Phil Metzger
Materials:
- drawing paper (14in x 17in)
- Pencil
- T-Square
- 30/60 degree triangle ruler
- low-tack tape
- white or kneaded eraser
- eraser stick
- pencil sharpener
- ruler (18in or 24in)
- tracing paper

Note: 2 Point Perspective is used when you can see the sides and bottom or top of an object. If you can only see the front and bottom or top of the object, you should be using 2 Point Perspective instead.
Step 1
Start by taping down a single sheet of paper to keep it from moving around while you work. Be sure to use low-tack tape so you don't rip the paper when you remove the tape later.

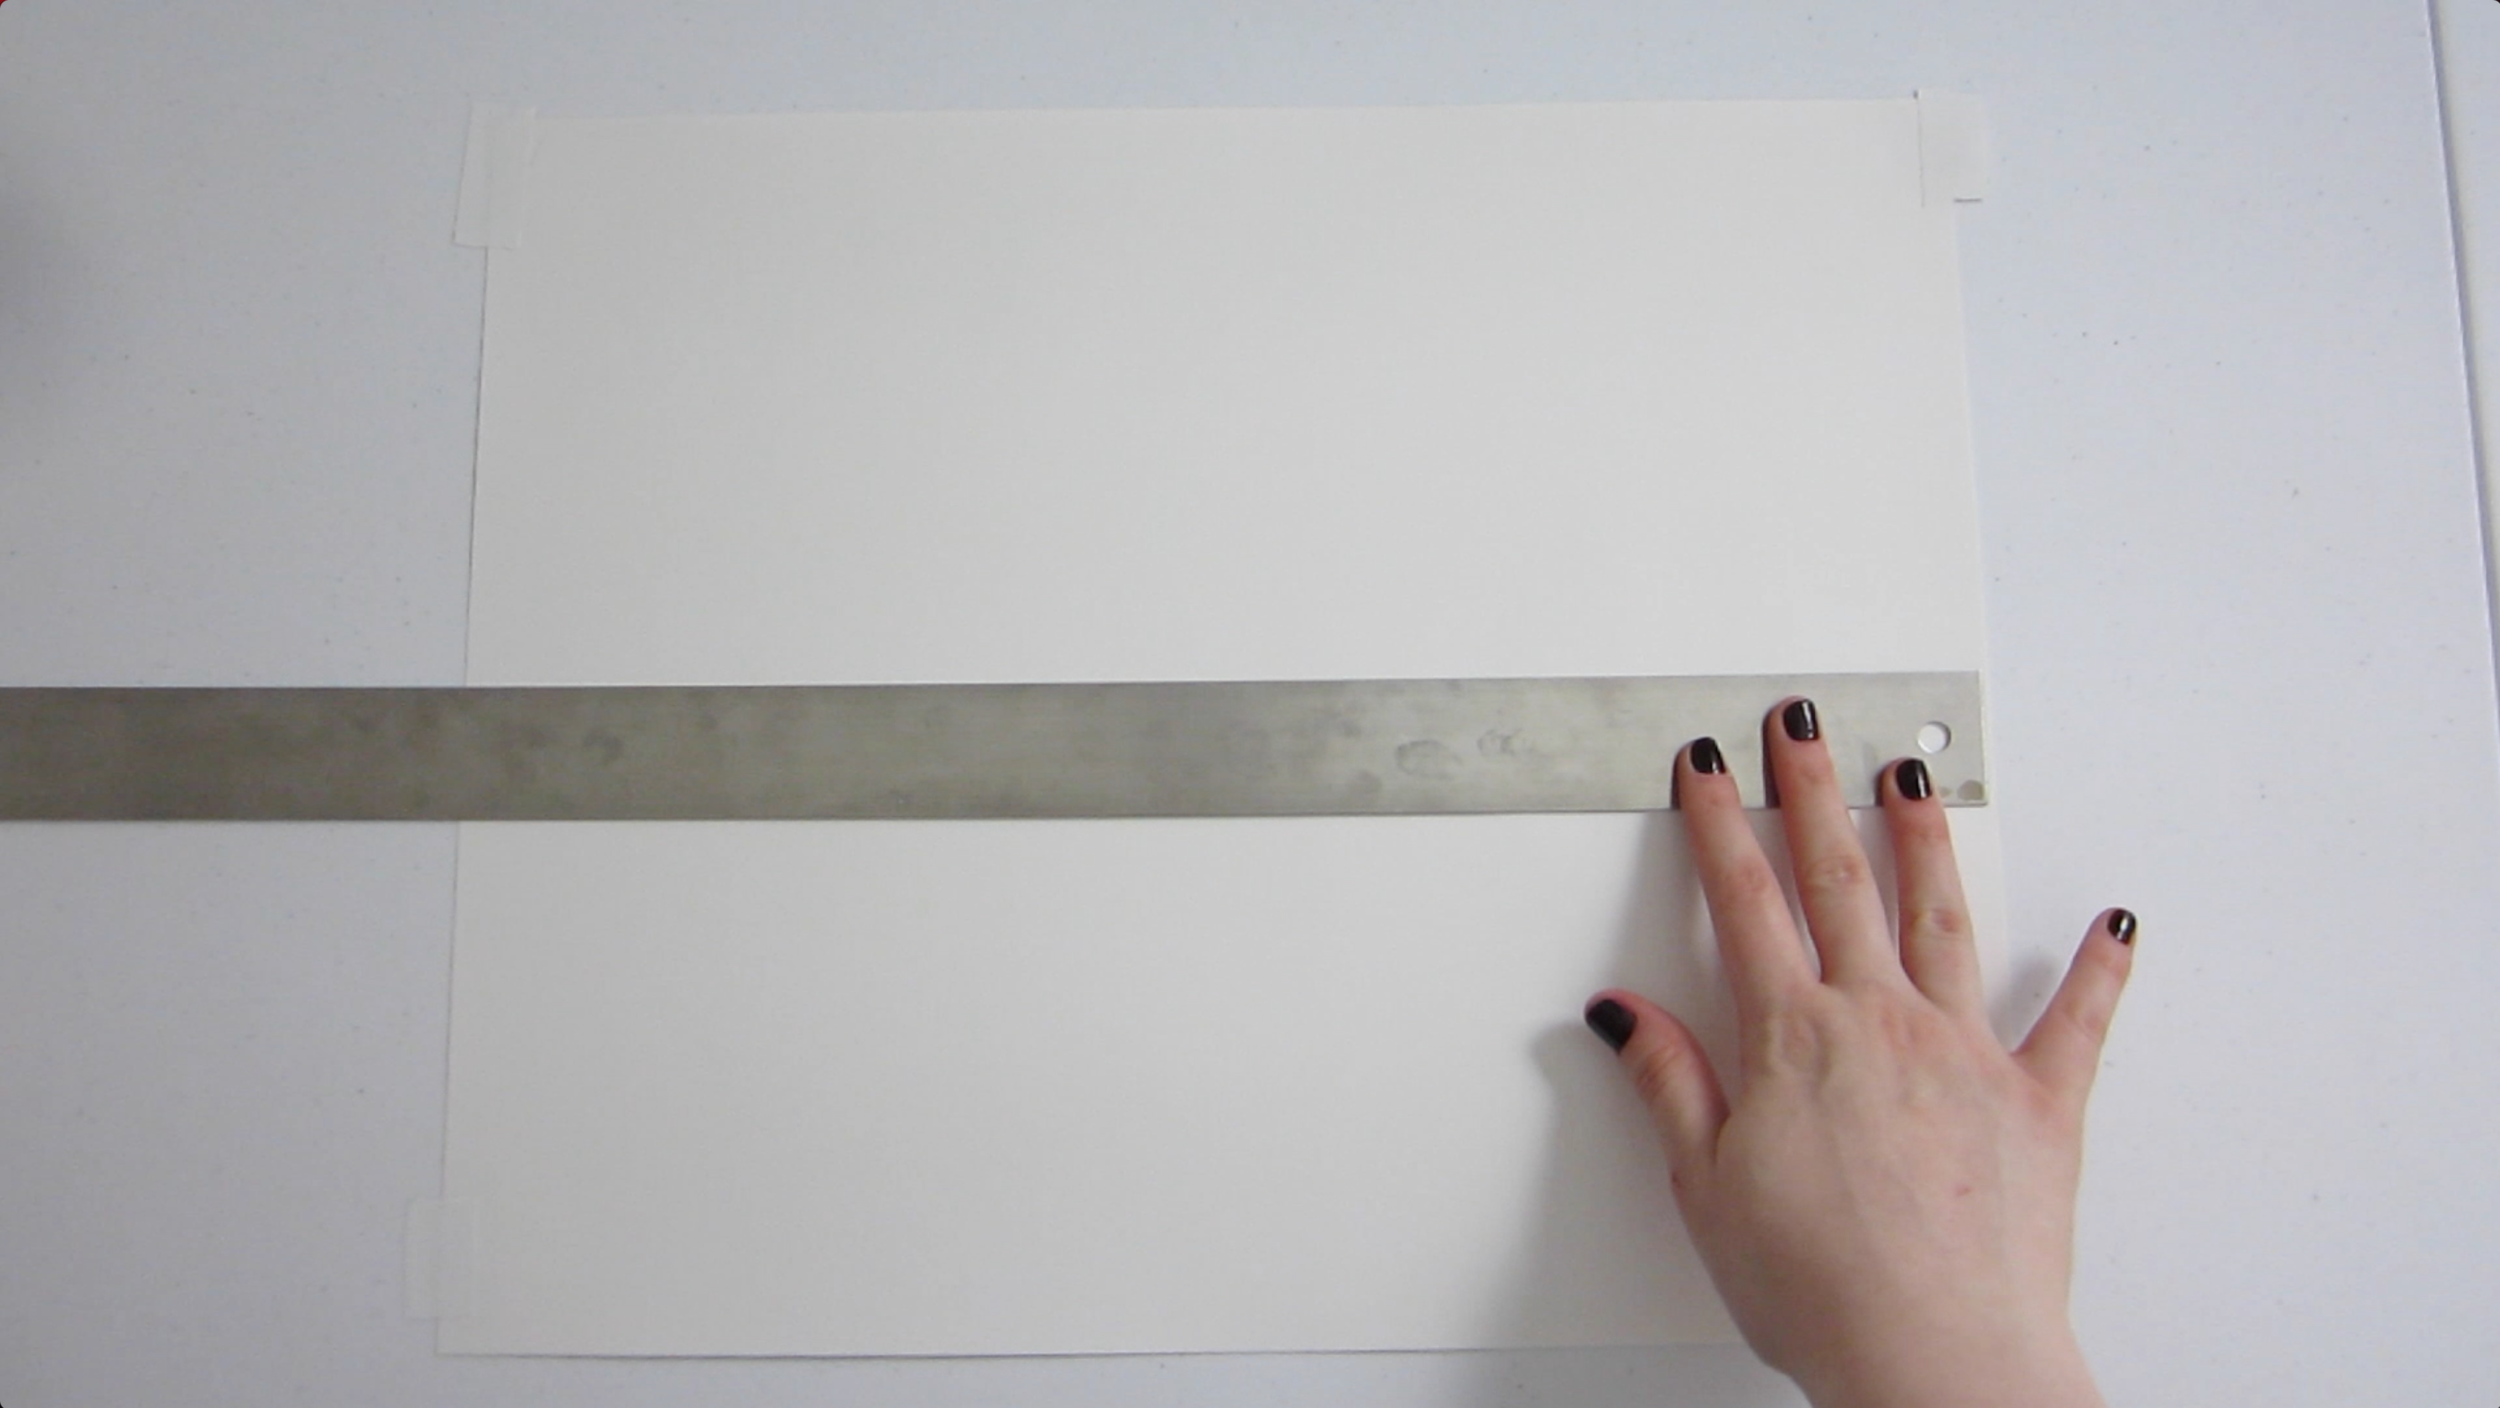
Line up your T-Square with the edge of your table and make sure you always hold it firmly against the edge of the table to ensure all your horizontal lines will be perfectly parallel. Draw a horizontal line at about the center of the page. This line will be your eye level or horizon line.


Step 2
Draw two points on the horizon line; these will be your vanishing points. You can place them as far apart as you want, just don't place them too close to each other or your cube will end up looking really distorted!
Line up your triangle with your T-square and draw a vertical line somewhere between the two points. It doesn't have to be perfectly centered.
Draw lines connecting both of your vanishing points to both ends of this vertical line. They should look like two stretched out triangles. This will be the cube's closest corner to you.

Step 3
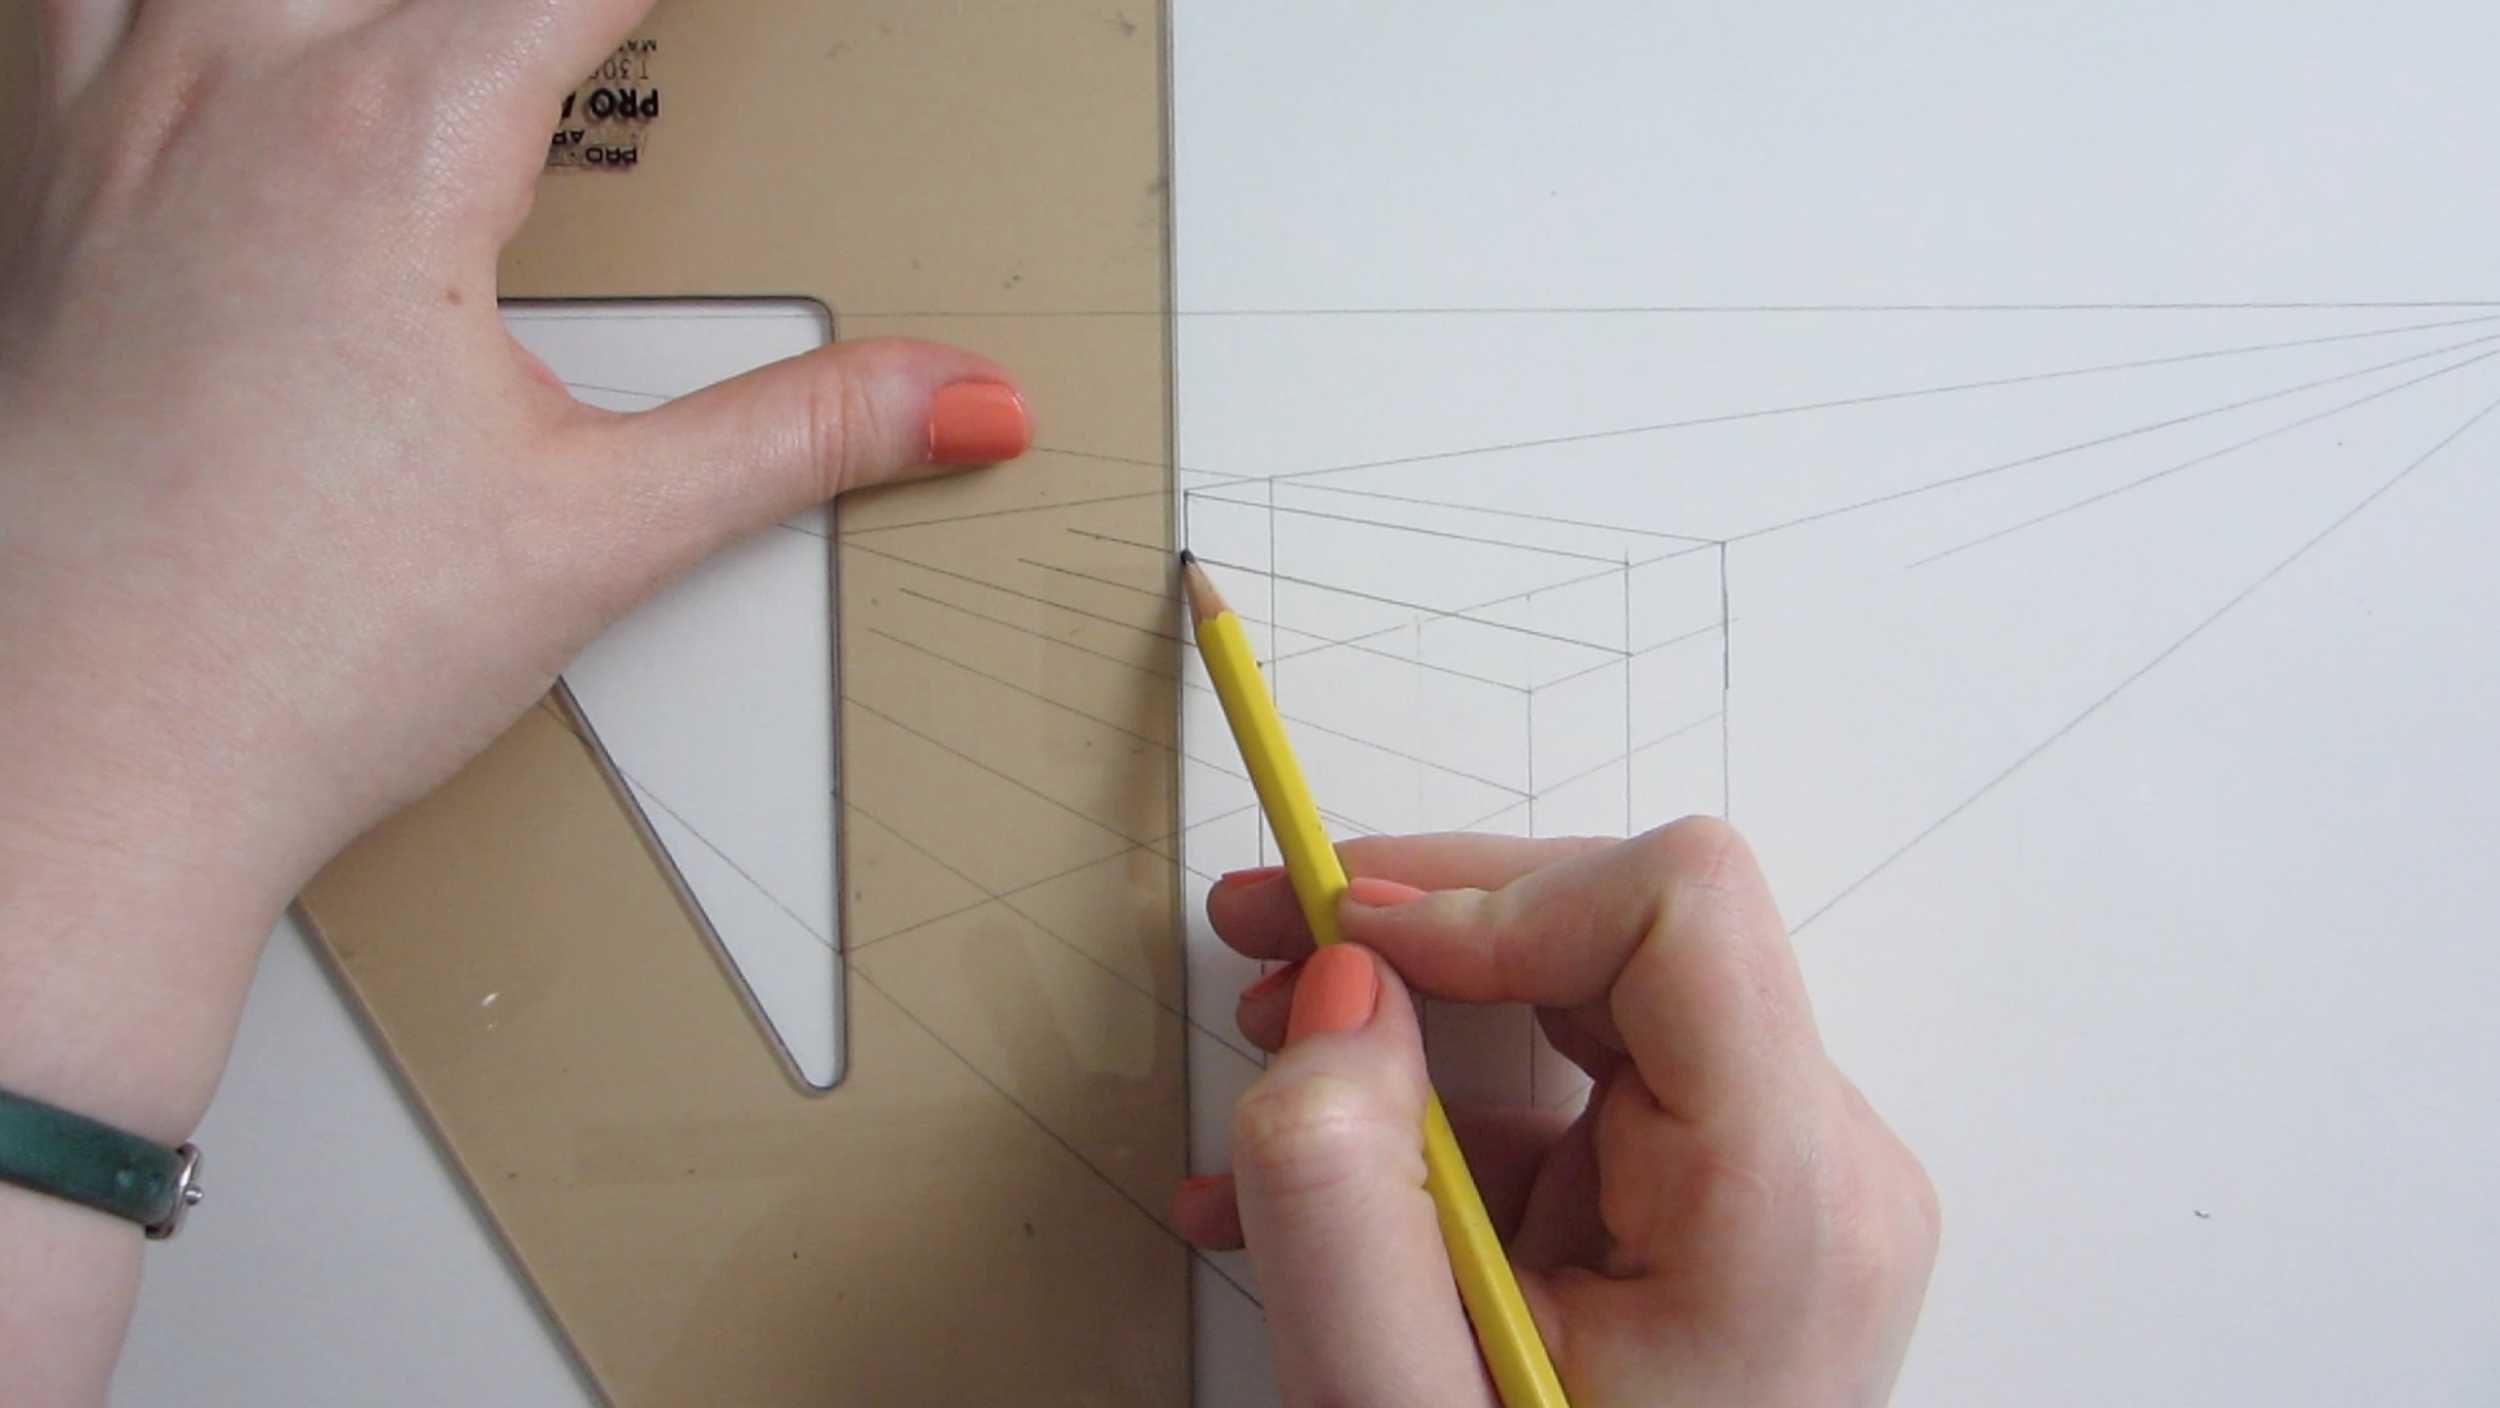
Use your T-square and triangle again to draw the next two corners of your cube (on either side of your line). Again, the measurements don't need to be exact.


Now connect both ends of the left line to the right vanishing point and both ends of the right line to the left vanishing point.


Finally, use your T-square and triangle to draw the fourth and last corner of the cube. This vertical line should align with the last four lines you just drew, right where they intersect each other.


Step 4
Erase the extra lines and you'll be able to see a transparent cube. Remember that you'll be able to see the bottom of the cube because it is placed above the horizon line.


Repeat this process to draw a second cube below the horizon line. Note that you'll be able to see the top of the cube this time because it is placed below the horizon line.


Basic Building
Step 1
Start with a cube or box of whatever size and dimensions you want your building to be. To add the roof, which will have a triangular shape, we need to find the midpoint of one of the walls. Choose a wall and draw an X connecting its opposite corners.


Step 2
Now you can use your T-square and triangle to draw a vertical line across the midpoint, which is where your cross intersects. Make sure you extend this vertical line as high as you want your roof to be.


Finish the triangle shape by adding the two sides, connecting the top of your line with the two top corners of the wall.


Step 3
Draw a horizontal line from the tip of your triangle to the vanishing point.
Find the midpoint of the box's back wall using the same X method we used before and use your T-square and triangle to draw a vertical line across the midpoint. Be sure to stretch this vertical line to intersect the horizontal line you just created (from the tip of the triangle to the vanishing point).


Finish by adding the sides of the back triangle, connecting the tip of the second triangle to the top corners of the back wall.


Instead of erasing all the extra lines, I suggest taping a piece of tracing paper over your sketch and drawing over it. Trace only the lines that you would see if the building you created was actually solid. The nice thing about the tracing paper is that if you make a mistake, you can just toss that piece and get a new one to start over without ruining your original sketch. You could also use a light table if you have one.


A Set of Stairs
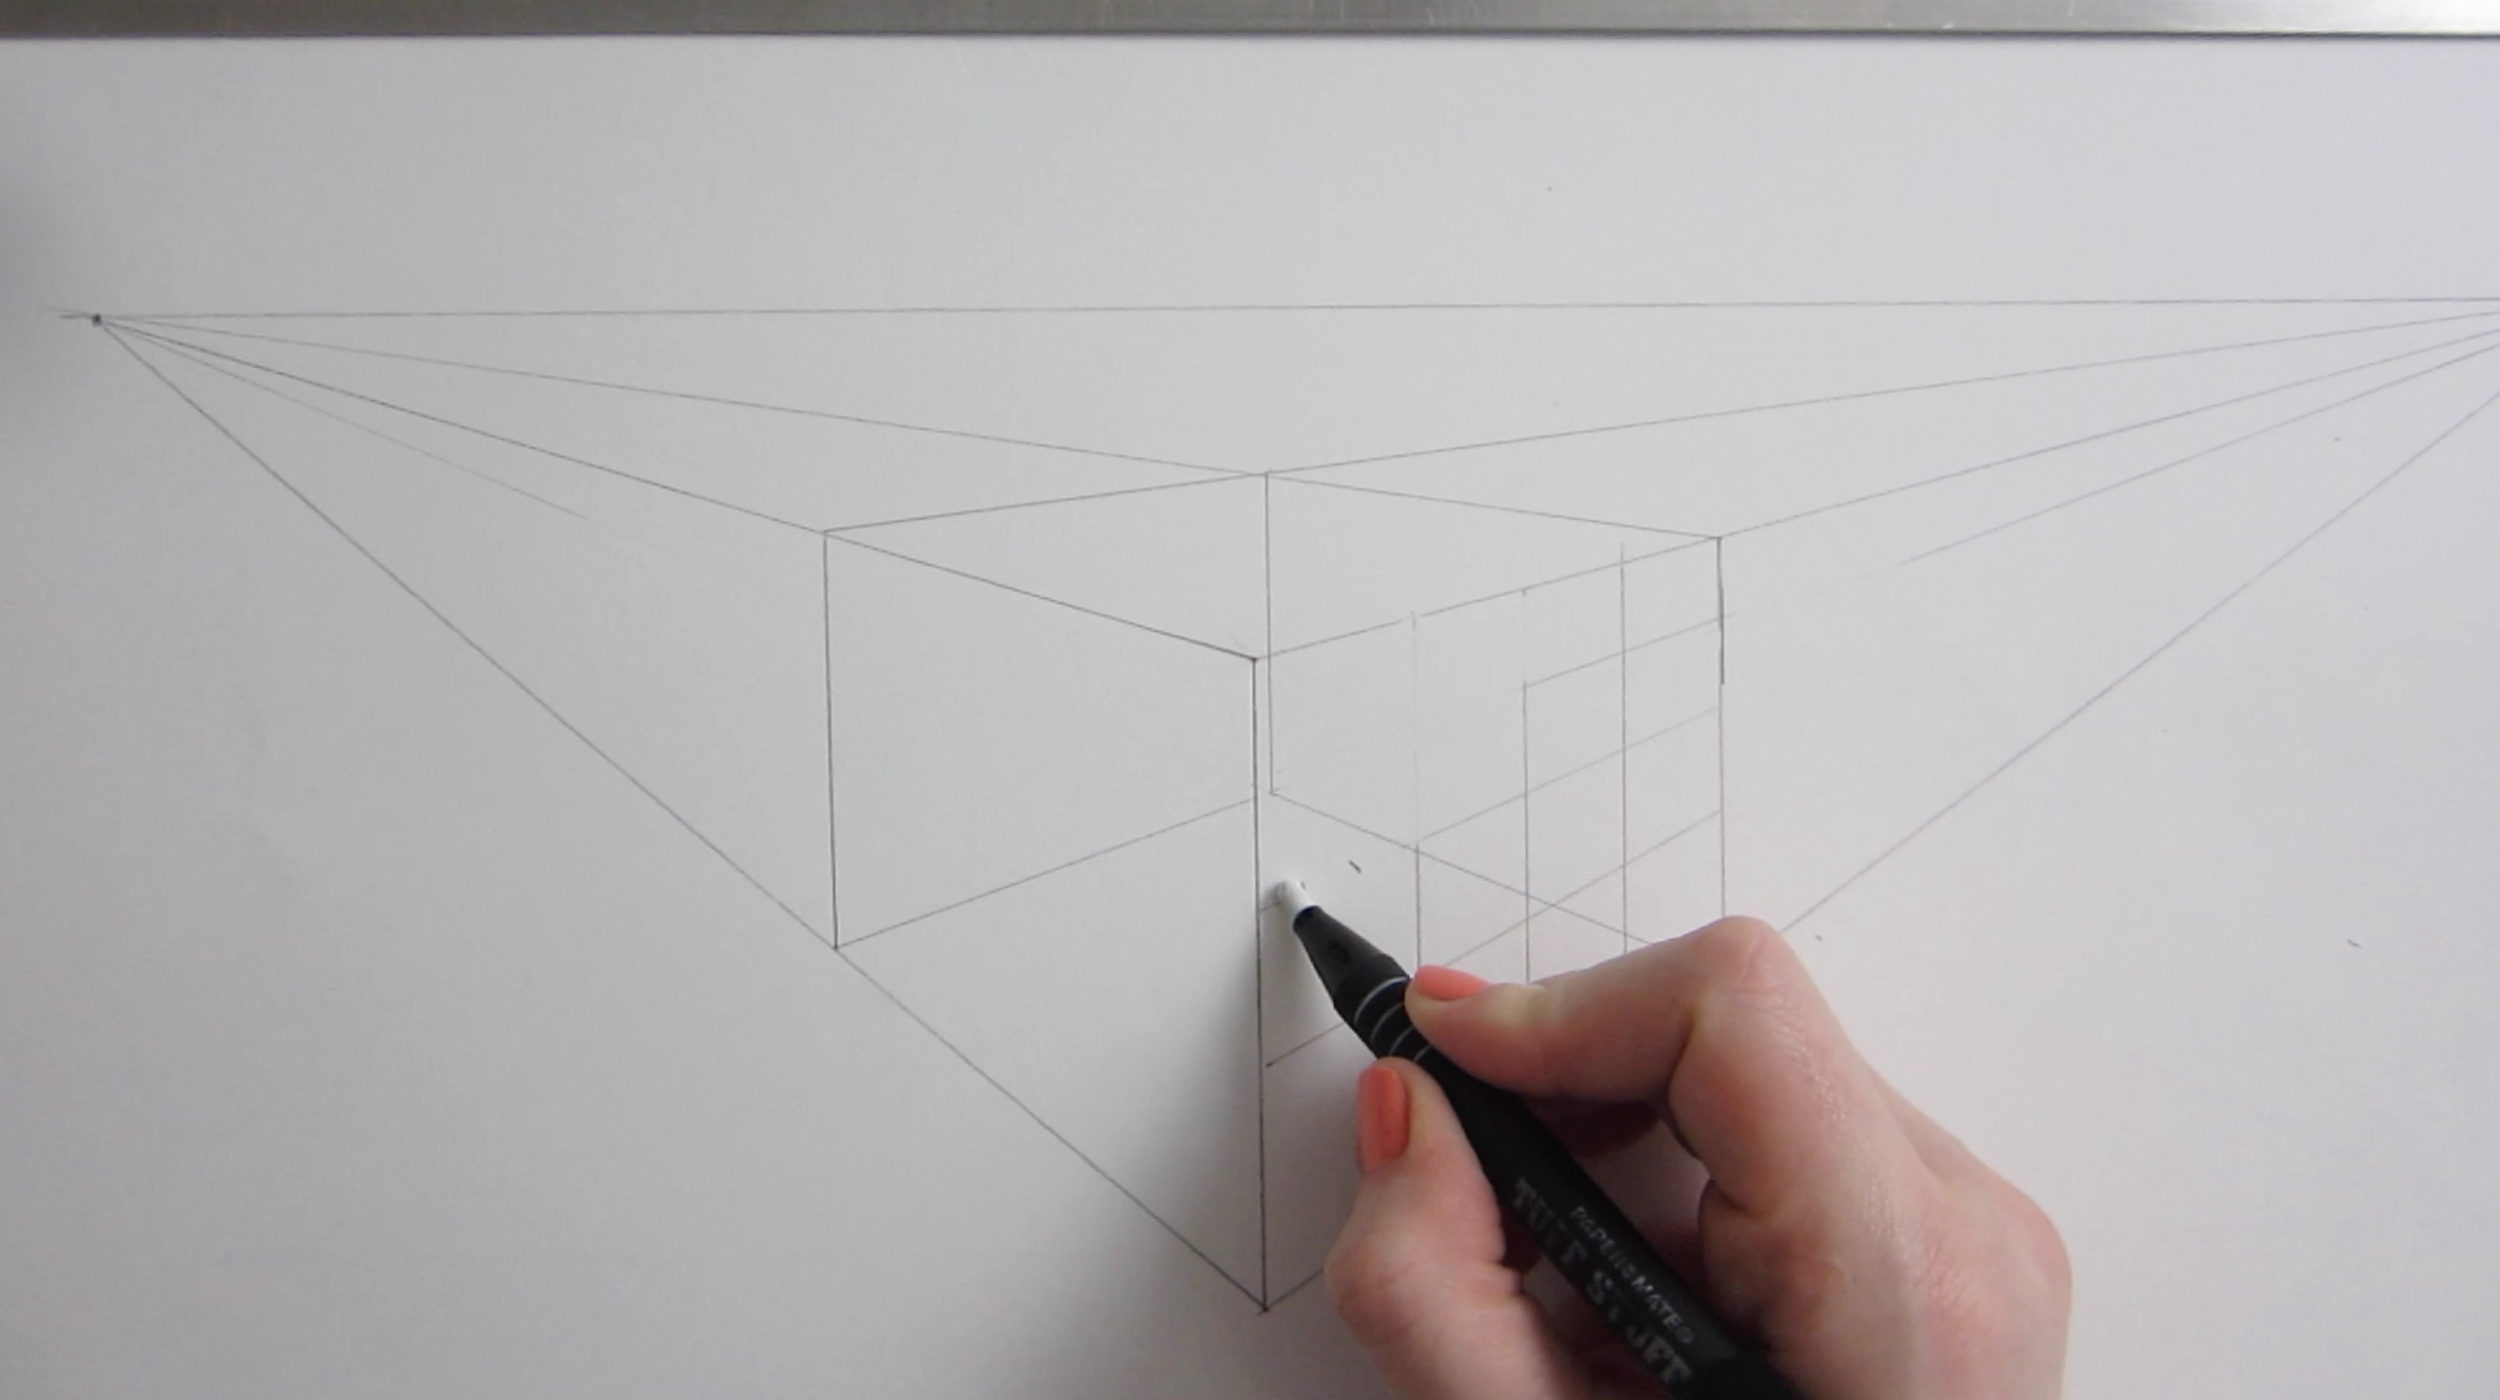
Step 1
Start with a cube of box of whatever size and dimensions you want your stairs to be. First, decide how many steps you want your stairs to have. I wanted 4 steps, so I drew a grid with 4 columns and 4 rows.


Draw your grid on one of the box's sides that is closest to you. You can draw it on the left side or the right side, depending on which direction you want your stairs to point. Use your T-square and triangle the draw the vertical lines of your grid and use the vanishing point to help you draw the horizontal lines of your grid in perspective.


Now you can erase the extra lines in your grid, leaving only the outline of your stairs.


Step 2
Draw lines from the opposite vanishing point connecting to each corner of your stairs.


Alternate between vertical and horizontal lines to finish drawing the opposite side of the stairs. Again, use your T-square and triangle the draw the vertical lines and use the vanishing point to help you draw the horizontal lines in perspective. Make sure your lines are parallel to your original outline.


Step 3
Tape a piece of tracing paper over your sketch and trace only the lines you would see if your stairs were solid.


Cylinder
Step 1
Start with a box of whatever size and dimensions you want your cylinder to be. Use the X method we used before to find the midpoints of two parallel walls (these should be the walls that are more squarish).


Step 2
To draw a circle, picture what it would look like if you placed a circle inside a flat square and added the X method grid to it. It looks a lot like a pizza or cake inside a box. Use this image as a guide to help you plot in the circle in perspective. Remember that circles in perspective take on a more oval shape.


Step 3
Use the vanishing point to draw the sides of the cylinder and use tracing paper to trace only the lines you would see if the cylinder was solid.