
1 Point Perspective
Reference: The Art of Perspective by Phil Metzger
Materials:
- drawing paper (14in x 17in)
- Pencil
- T-Square
- 30/60 degree triangle ruler
- low-tack tape
- eraser
- eraser stick
- pencil sharpener
- ruler (18in or 24in)
Note: 1 Point Perspective is used only when you can see the front and bottom or top of an object. If you can see a side of the object, you should be using 2 Point Perspective instead.
Step 1
Start by taping down a single sheet of paper to keep it from moving around while you work. Be sure to use low-tack tape so you don't rip the paper when you remove the tape later.


Line up your T-Square with the edge of your table and make sure you always hold it firmly against the edge of the table to ensure all your horizontal lines will be perfectly parallel. Draw a horizontal line at about the center of the page. This line will be your eye level or horizon line.


Step 2
Draw a square above the horizon line. Start by using your T-Square to draw the top and bottom of the square. Line up your triangle with the T-Square and use it to draw the sides of the square. Your square doesn't have to be perfect. You can just eyeball the measurements.


Step 3
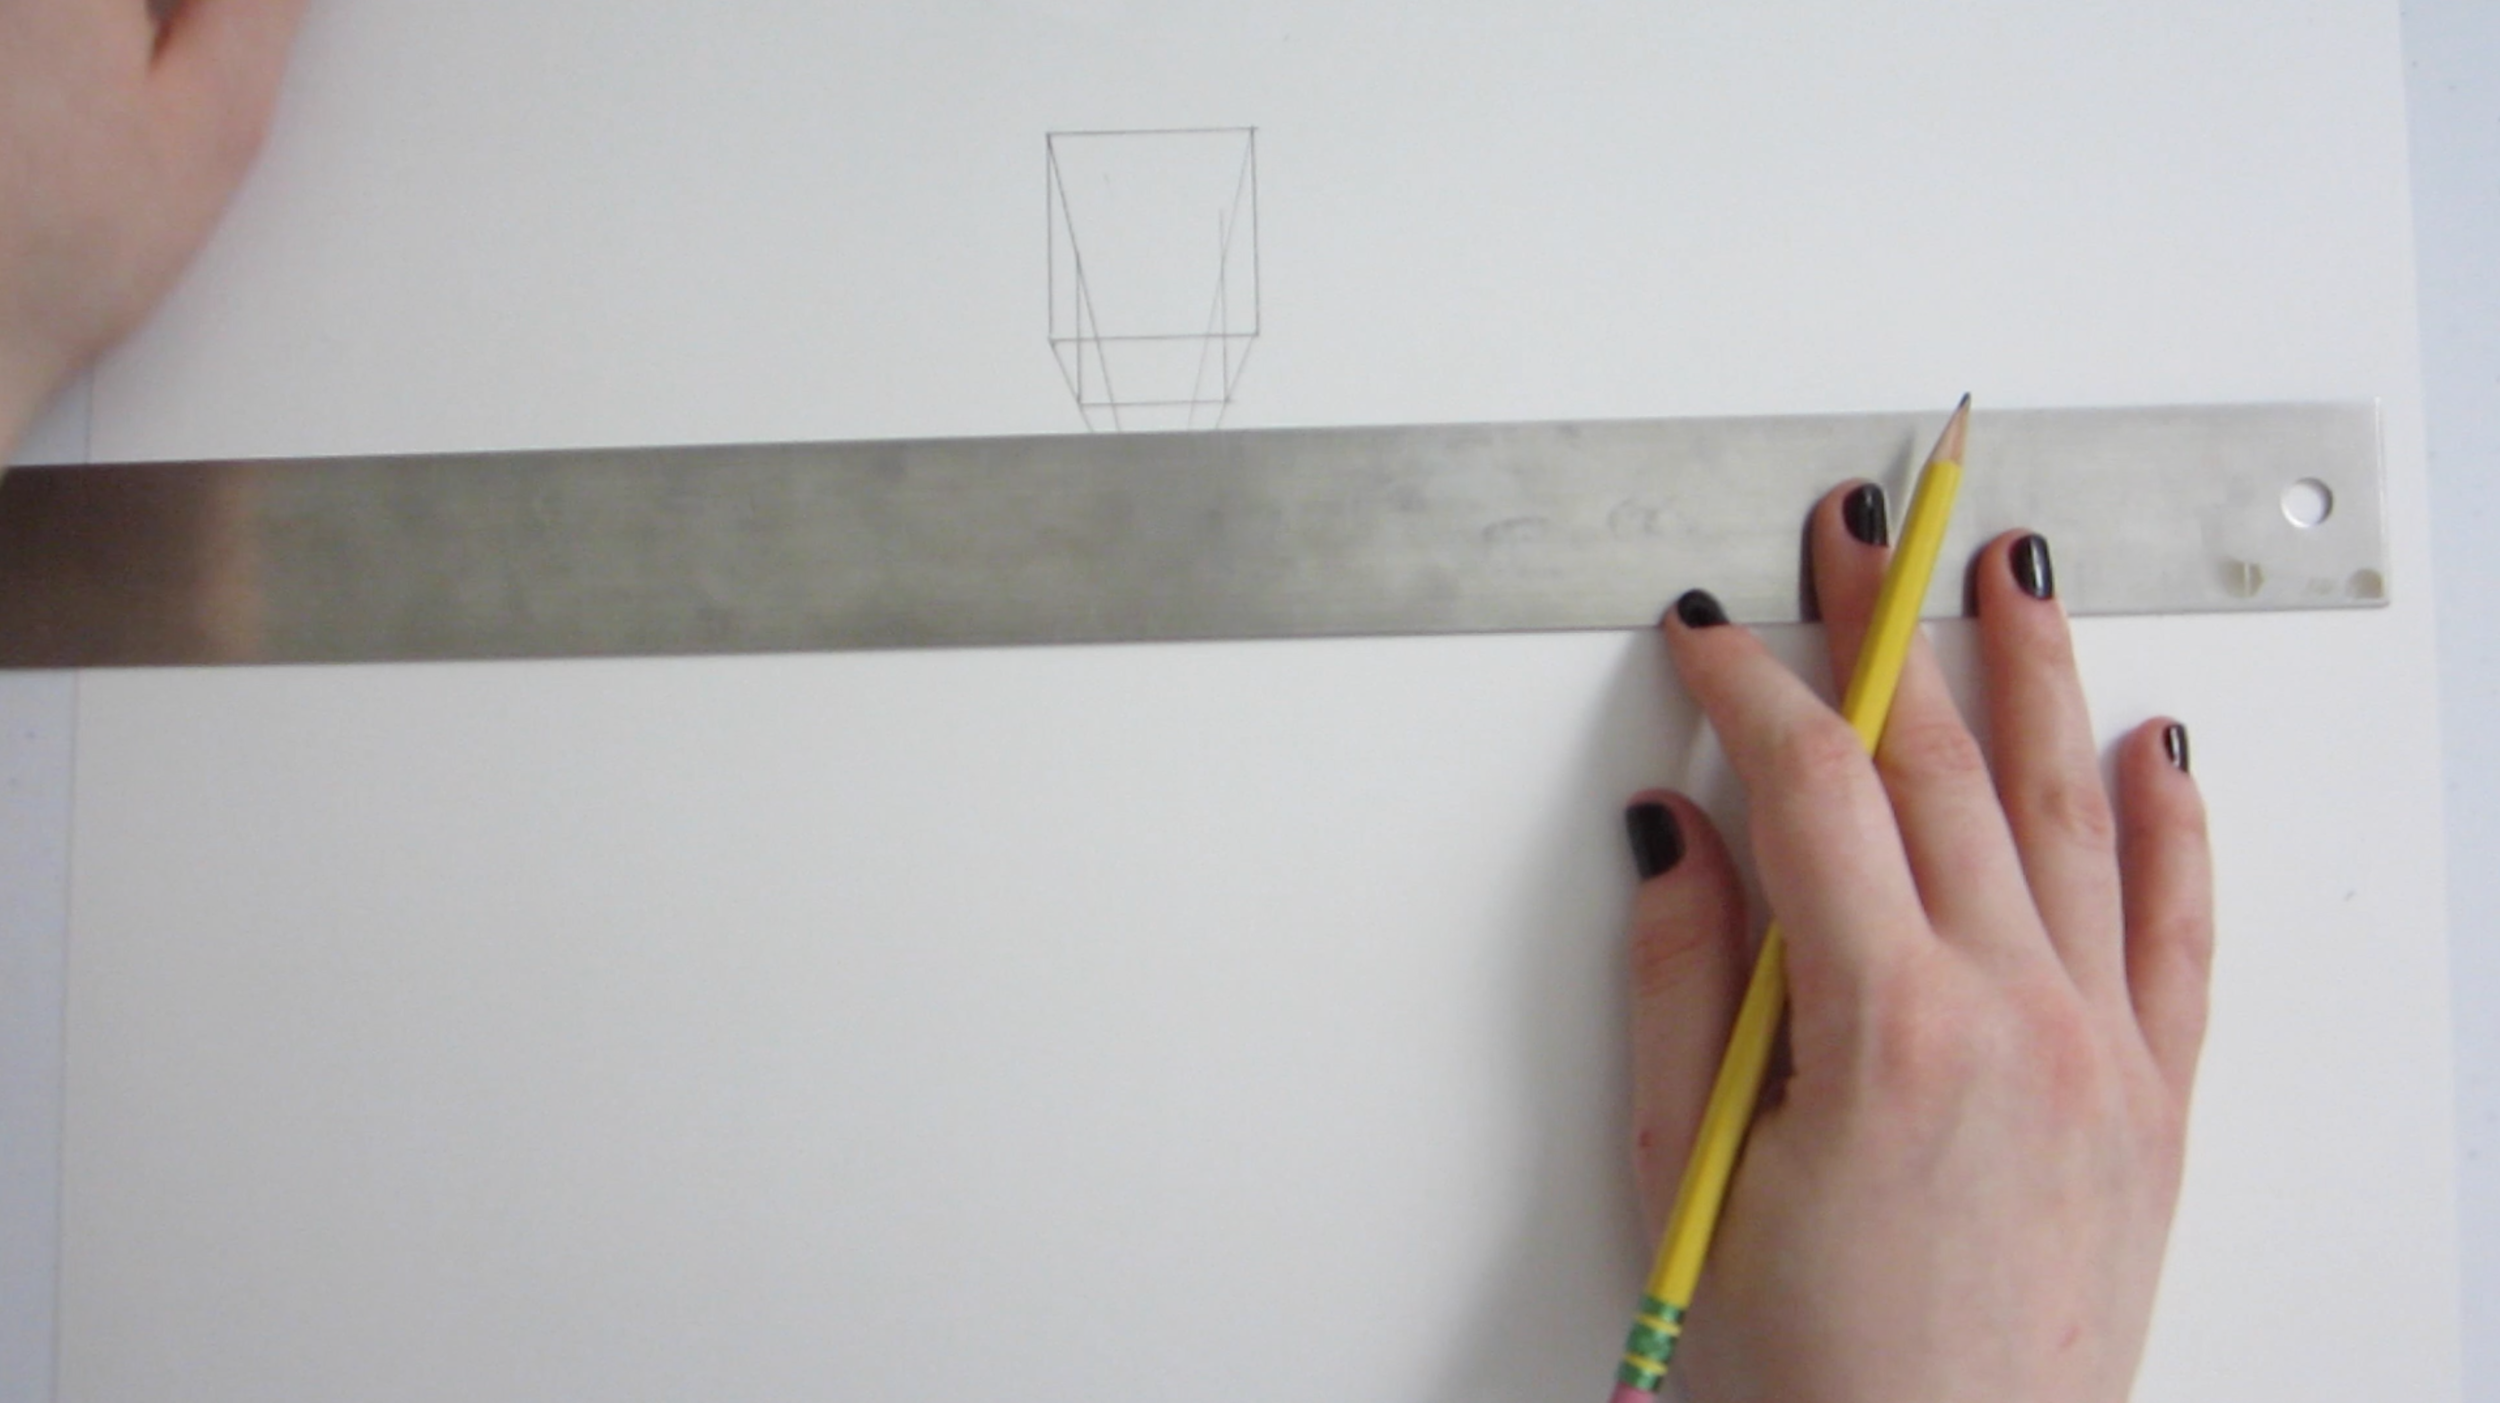
Draw a small point on the horizon line directly below your square. This is the vanishing point.
Use your ruler to create a line that connects each corner of your square to the vanishing point.


Use your T-Square to draw a line that intersects the lines connected to the two bottom corners of your square.


Line up your triangle with the T-Square again and use it to draw two parallel lines that intersect with the line you just created.

Use your T-Square to draw a line that connects the two lines you just created and intersects the lines connected to the top corners of your square.


Step 4
Erase the extra lines. It can be helpful to first erase enough to see your transparent cube.


To make the cube appear solid you just have to erase the lines that would not be visible if this was an actual solid cube.
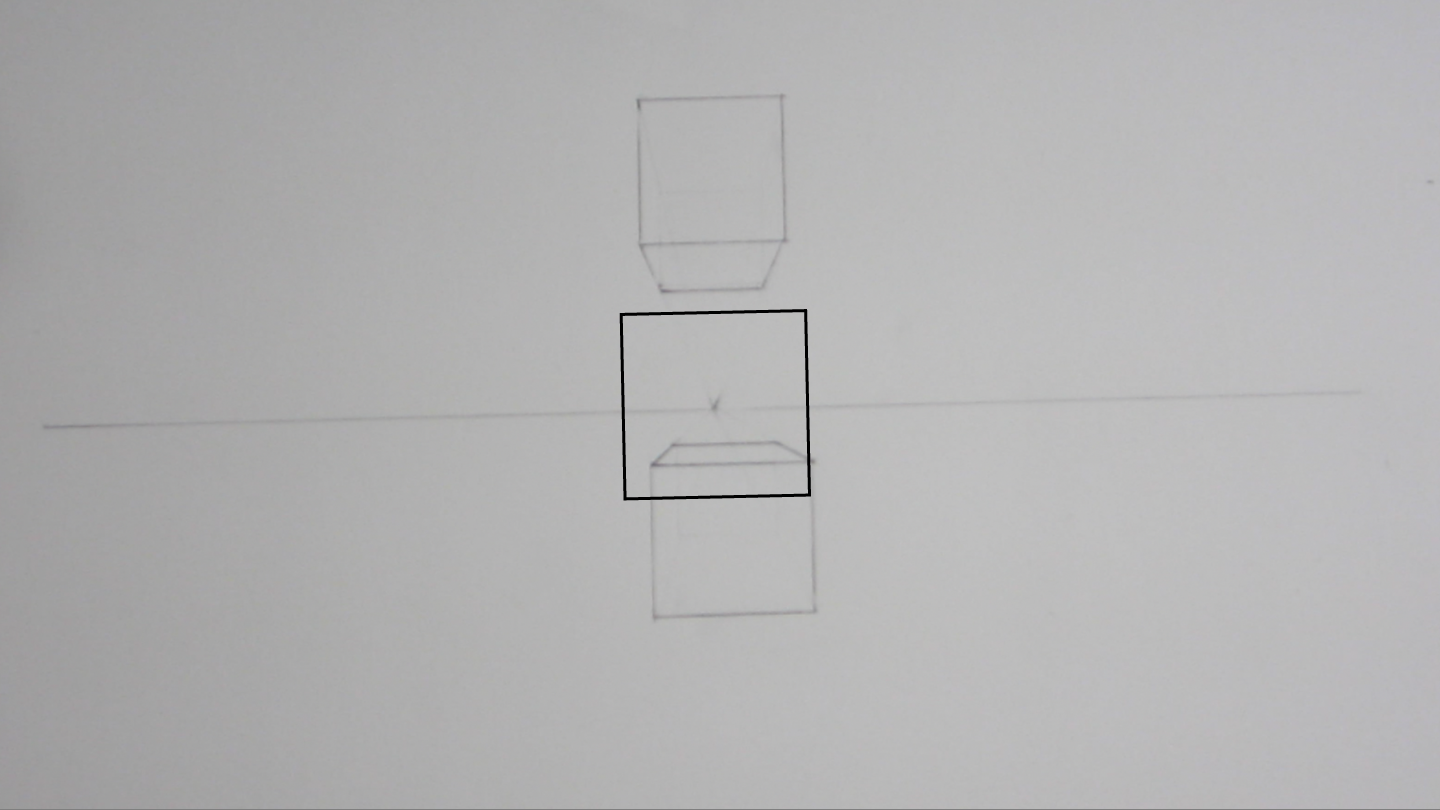
A good trick for this is to remember that when an object is above the horizon line, you will be able to see the bottom of it. If an object is below the horizon line, then you'll be able to see the top of it. The father away the object is from the horizon line, the more you'll be able to see its top or bottom.
Test this out by repeating the process again, except draw the cube below the horizon line this time.
When you erase the extra lines this time, remember you'll be able to see the top of the cube because it's below the horizon line.
Notice that the closer the object is to the horizon line, the less you see of its top or bottom.
If you were to center the cube with the vanishing point, you wouldn't be able to see any of the sides; all you would see is the front of the cube, so you would just be seeing a square!